Last Updated on November 20, 2025
When setting up your bank account for direct deposit, changing it, or verifying the bank account, you might sometimes come across QuickBooks error 30114. This is the message that often shows up on the screen:
| “Error 30114: Verification has not been issued for this account.” |

When you see this error, you might find yourself stuck and even find that there is no way to request that the verification be redone. However, do not worry. In this blog, we will tell you how to set up your bank account correctly. Alright then, let us begin!
Possible Reasons Why You See Error Code 30114 in QuickBooks
Before we dive into the methods to troubleshoot error code 30114, let us see the different possible reasons that can give rise to it.
- You might be trying to finish the setup for Direct Deposit before completing the bank verification
- There might be viruses or malware infecting the system files or the hard disk.
- The Windows registry might be corrupt or damaged.
- QuickBooks can’t work properly because of the program or installation damage.
Expert-Recommended Ways to Troubleshoot QuickBooks Error 30114
Now, let us take you through various ways to troubleshoot QuickBooks error 30114, so that we can help you eliminate this problem and get you back on track in no time.
However, before you proceed, update your QuickBooks Desktop and Windows operating system.
1. Let the Test Debits Show Up on the Bank Statement
You wouldn’t be able to set up the direct deposit until you verify the bank account. Therefore, you must wait for the test debits to appear on the bank statement and then enter them into QuickBooks.
Thus, you should review your online banking statement before entering it into QuickBooks. If this doesn’t help, move to the next solution.
2. Run a Disk Cleanup
Run the disk cleanup to clean the junk and temporary files, as they directly impact the performance of your computer:
- Launch the Start menu, search for File Explorer, and open it.
- Choose the This PC/ This Computer option from the left pane.
- Locate the C: Drive, right-click on it, and choose Properties from the list of options.
- Now, choose the Disk Cleanup button and follow the instructions you see on your screen.
Restart the computer, and open QuickBooks Desktop.
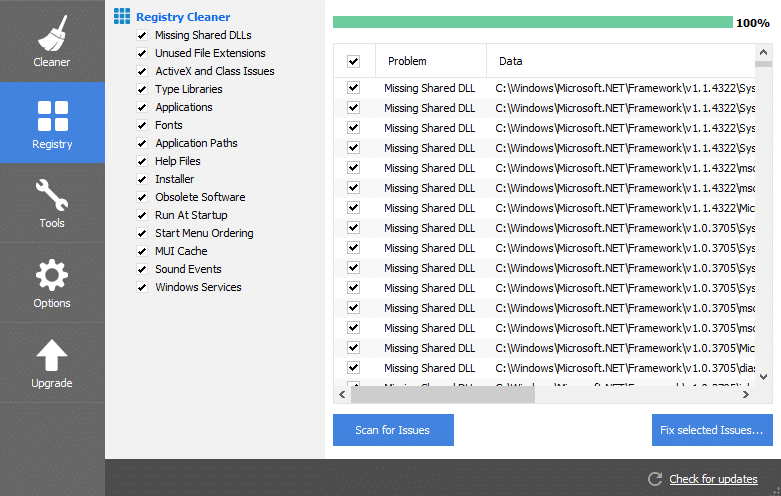
3. Save a Backup for QuickBooks Registry
Follow the steps below to create a backup for the QuickBooks registry.
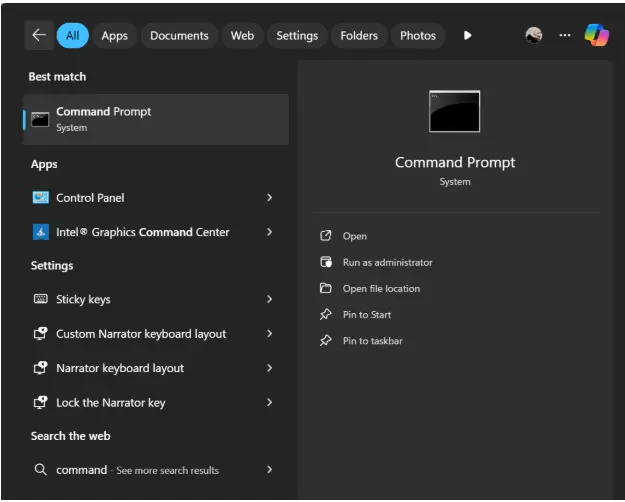
- Open the Start menu and in the search bar, type command and open it.
- Press the Ctrl + Shift keys together.
- Once done, tap the Enter key.
- You will see a permission window dialog box appear on your screen. Confirm and agree with the displayed instructions and choose Yes.
- When the blank window with a cursor pops up on your screen, enter Regedit.
- Hit the Enter key.
- Next, you will need to select the key that is associated with error 30114, which you need to back up into the registry window.
- Open the File menu and select Export.
- Next, select the folder where you wish to save the QuickBooks backup key.
- Type in the name that you will be giving for the backup file.
- From the Export Range window, make sure that you have marked the Selected Branch.
- Choose Save, and your file will be saved with a .reg extension.
Now, proceed to the next step. Check if the QuickBooks error 30114 that you faced earlier is resolved. If you continue to face a problem, move to the next step.
4. Perform a Complete Virus and Malware Scan on Your Computer
You should perform a complete scan on your computer to check for viruses and malware, and get rid of them. After the scan is complete, run the system file checker:
However, first you need to run DISM before you run System File Checker, as DISM provides the files required to repair your corrupted files. The steps below will guide you on how to do so:
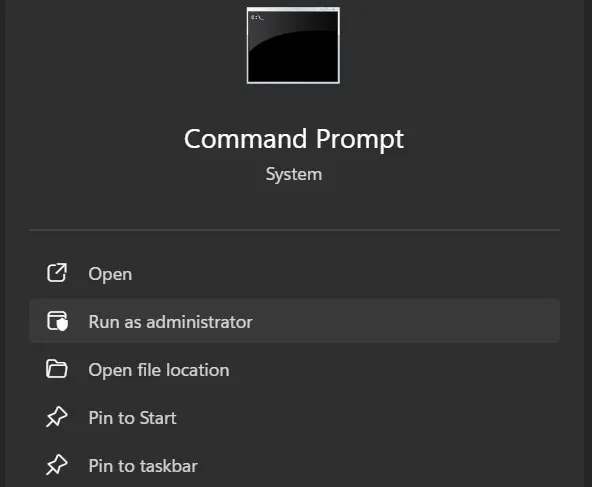
- Open the Start menu, type Command Prompt, right-click on it, and choose to Run as administrator.
- If asked to enter an administrator password or for confirmation, type in the password or choose Allow.
- Enter the following command into the command prompt window and press the Enter key on your keyboard:
DISM.exe /Online /Cleanup-image /Restorehealth
- It might take a while before the operation is completed.
Now, run the System File Checker by entering the following command in the command prompt window:
sfc /scannow
Note: In both the commands to follow, notice the spaces, wherever they are, enter them as they are.
After the system file checker finishes repairing, resume your QuickBooks operations. If you continue to face a problem, update the System Device Drivers.
Conclusion
This was all about why you see QuickBooks error 30114 when setting up direct deposit after verifying your bank account. Moreover, we saw different ways you can troubleshoot the issue. If you continue to struggle with the same problem, speak to a QB expert. Dial +1(855)-510-6487 now!
Frequently Asked Questions
What is the error code 30114 in QuickBooks?
Error code 30114 in QuickBooks Desktop could show up on your screen when you are setting up your direct deposit. Before you complete setting up direct deposit, you need to verify your bank account.
How do I fix the error when setting up direct deposit?
To resolve the error code 30114 when setting up direct deposit, here is what you can do:
1. Firstly, wait before the test debits show up on your bank statement
2. Check your online bank statement and enter the amount of the test debits in QuickBooks
3. Run the system file checker to repair the damage and corruption in the system files
4. Perform a complete virus and malware scan on your computer to get rid of malicious files

Kate is a certified public accountant (CPA) with expertise in various accounting software. She is technically inclined and finds passion in helping businesses and self-employed people carry out bookkeeping, payroll, and taxation without worrying about errors. Every once in a while, Kate loves to travel to far-off places and relax in the lap of nature.