Last Updated on June 17, 2026
You might not be able to access QuickBooks services that require internet connections due to incorrect internet security settings. This might manifest itself in the form of errors.
In this blog, we will show you how to set up QuickBooks Internet security settings so that you can prevent errors and issues that pop up while carrying out several operations.
Why Do You Need to Configure Internet Settings for QuickBooks?
QuickBooks needs to connect to the internet to perform many operations. This might however become impossible if the internet settings on your computer doesn’t let QB access the internet.
If the Internet security settings are incorrect, the program will not be able to connect to the server. This can give way to the QuickBooks internet connection read error, payroll update error, and more.
Thus it is needless to say that you need to configure the internet settings on your computer to allow QB the access it requires.
Steps to Setup QuickBooks Internet Security Settings
Let us show you how to set up QuickBooks internet security settings on the computer and add Intuit as a trusted site. This will allow you to carry out various operations without an error. Follow the steps given in different sections depending on the operating system you use, either Windows or Mac OS.
Note: If you use QuickBooks Online instead of the Desktop application, another thing you might need to do is clear Intuit-specific cookies and browser cache if you run into errors. Also, make sure to use a supported browser and update it to the latest release.
1. Add Intuit Websites as Trusted Sites in Your Computer
Internet settings of the default browser decide the browsing restrictions on the computer which can be changed by navigating to Internet Options.
(i) How to Add Intuit as Trusted Site on Windows
Let us head to Internet Options and add Intuit websites as trusted sites.
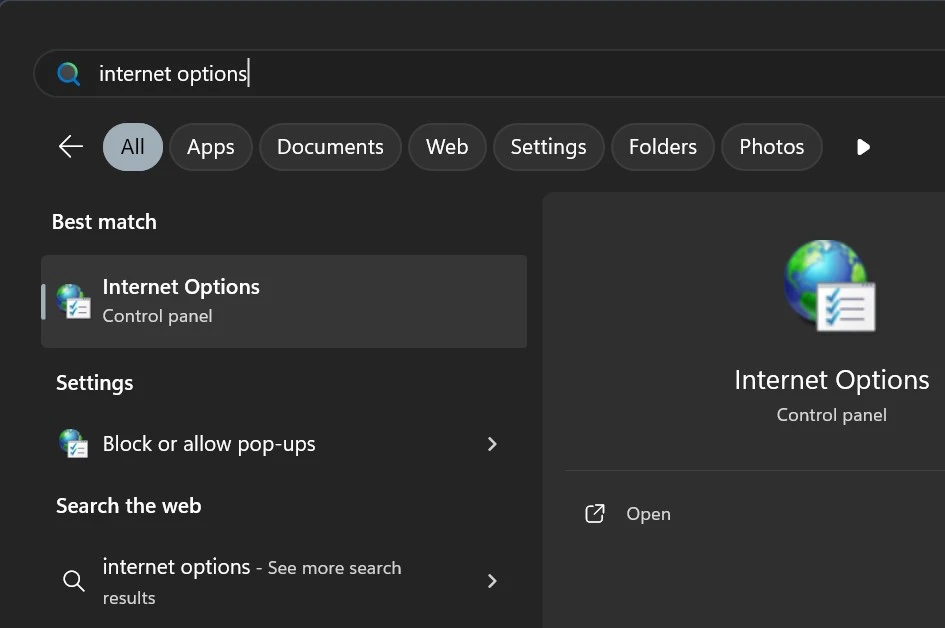
- Open Internet Options by searching for the same in the start bar.
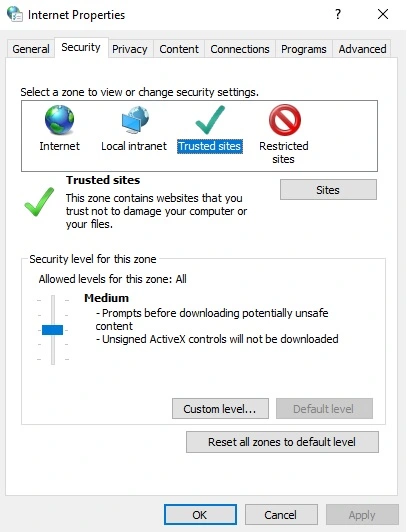
- Now, navigate to the Security tab and choose the Trusted sites zone.

- Tap on the Sites button and you will see the window to add websites.
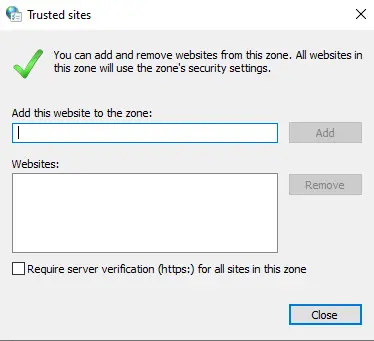
- Now, in the add this website to the zone field, type https://*.intuit.com
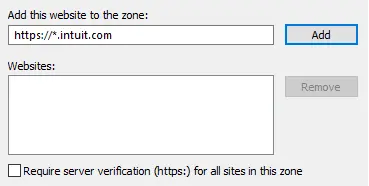
- Ensure the checkbox to Require server verification (https:) for all sites in this zone is not marked.
- Now, close the Add Websites window, and when you see the Security tab of the Internet Options window, click on OK followed by Close.
You have successfully added Intuit websites, such as QuickBooks.intuit.com and payroll servers, to the trusted site list. Now, restart your computer for the changes to take effect.
(ii) How to Add Intuit as a Trusted Site on Mac
To add Intuit websites as trusted on your Mac computer, open Safari browser.
- Launch Safari and type in intuit.com
- Hit Enter and choose Bookmarks, followed by Add Bookmark…
- Now, from the dropdown menu you see under Add this page to option, choose Favorites.
- Tap on Add.
This will add Intuit as a trusted website on your Mac computer. Restart your computer and resume the operations.
2. Open Firewall Ports for QuickBooks or Create Exceptions
Another thing that can prevent QuickBooks programs from connecting to the internet is Firewall.
If the firewall blocks QuickBooks from connecting to the internet, create firewall and port exceptions. If you use an antivirus or security software as well, move to the next step once you are done with Windows Firewall.
3. Create Antivirus Exceptions for QuickBooks If Required
Antiviruses and security software can affect QuickBooks operations in a bifocal manner.
They can quarantine the QuickBooks programs or stop them from running and also prevent them from accessing the internet through their firewall. Therefore, you need to create QuickBooks antivirus exceptions to resolve any connection issues.
Conclusion
This was all on how to configure QuickBooks internet security settings. Now, you will be able to carry out payroll operations and QuickBooks updates among others without an issue.
However, if you face a problem, it is best to connect with a QuickBooks expert. Self-troubleshooting can only go so far. Dial +1(855)-510-6487 and speak to a QB expert now!
Frequently Asked Questions
Intuit or anyone at Intuit doesn’t have your PIN, which is ensured by SSL and RSA. This makes it safe to link a bank account to Intuit. For more information, you can connect with your bank and understand the procedure that is involved when carrying out banking transactions in QuickBooks.
QuickBooks Online is a DigiCert® secured product and one of the leading secure sockets layers (SSL) Certificate Authority. QuickBooks offers firewall-protected servers, password-protected login, and encryption technology (128-bit SSL) utilized and recommended by financial institutions.
To resolve QuickBooks internet connection error read error, check your internet connection and ensure it is strong. Moreover, set up QuickBooks internet security settings and firewall ports. For comprehensive troubleshooting, follow the steps given in our guide on QuickBooks payroll service connection error.

Oriana Zabell, a professional cloud engineer, has over three years of experience in desktop, online QuickBooks support and troubleshooting. She is currently working as a cloud hosting consultant with Asquare Cloud Hosting. She loves to read and write about the latest technologies such as cloud computing, AI, DaaS, small businesses, manufacturing. When not writing, she is either reading novels or is indulged in a debate with movie fanatics.