Last Updated on March 10, 2026
As a business owner or entrepreneur, you may be running one or multiple businesses. If you own multiple businesses, you can manage them within the same QuickBooks installation without buying another QuickBooks license. Yes, you read that right! Add as many companies as you want in QB desktop and manage all the businesses efficiently. However, things are slightly different if you are a QB online user.
As a QB online user, you can manage multiple companies using the same sign-in credentials, though you will need to buy the QuickBooks subscription for each new company file. Read along with this comprehensive blog that provides invaluable insights about setting up multiple companies in QuickBooks. This blog also lets you know how to switch between the companies and change primary admin.
Setting Up Multiple Companies in QuickBooks Desktop
Here are the instructions to follow if you plan to add more than one company to QuickBooks Desktop.
Add a Second Company to QuickBooks
You need not subscribe to another license if you want to add multiple companies to your QuickBooks account. However, while adding companies, the EINs will be different to record the taxes correctly. Here is how you can add a company:
- Open QuickBooks and go to the File menu.
- Choose New Company from the drop-down list, then tap the Express Start button.
- Enter the relevant info, such as name, address, contact information, etc, in the appropriate fields and then tap Create Company.
How to Switch Between Companies
If you have more than one company, switching between them occasionally may be required. Here is how you can switch companies conveniently:
- Open QuickBooks and then move to the File menu on the top.
- Now, select Open Previous Company.
- Now, navigate to the company file that you want to switch to.
Lastly, choose Open to access the company.
Top Ways Setting Up Multiple Companies in QuickBooks Online
Below are the instructions you can follow if you are a QuickBooks Online user and want to manage multiple company files under the same user account.
Add Another Company File to QuickBooks Online
- If you’re already signed in to QB online, you need to confirm the account you want to sign in to QB. If the same account you want to use for the new company file is displayed on the screen, choose the option Yes, that’s correct.
- If you haven’t signed in, QuickBooks will ask you to create a new Intuit account. Don’t create a new account unless you want to create one for the new company file. You must look for the “Adding a company to an existing account?” option and then hit the sign-in link. Finally, sign in with the same user ID and password you used earlier to access QB online.
Keep reading the article if your QuickBooks Subscription has lapsed.
Move Existing Company Files to the Same Account in QB Online
If you already have multiple companies and each has a separate QB account, you can move all of them to a single account. You just need an email and user ID to sign in to all the companies. It makes everything smooth and saves plenty of effort.
Here is how you can move all the existing companies to the same QB online account:
Note: If you want to add more companies in the future, you can easily add them using your existing email and user ID.
Let’s say you have a couple of emails. One is Email A, and the other is Email B. The former is the one you want to access your companies with, and the latter is the one you no longer want to use. Now, send an invite to Email A. However, the invite can be sent only by the company admin. Another key point is ensuring you have an Intuit account with Email A.
- Sign in to a QuickBooks Online company that you have been accessing with Email B.
- The next step is to invite Email A to that specific company.
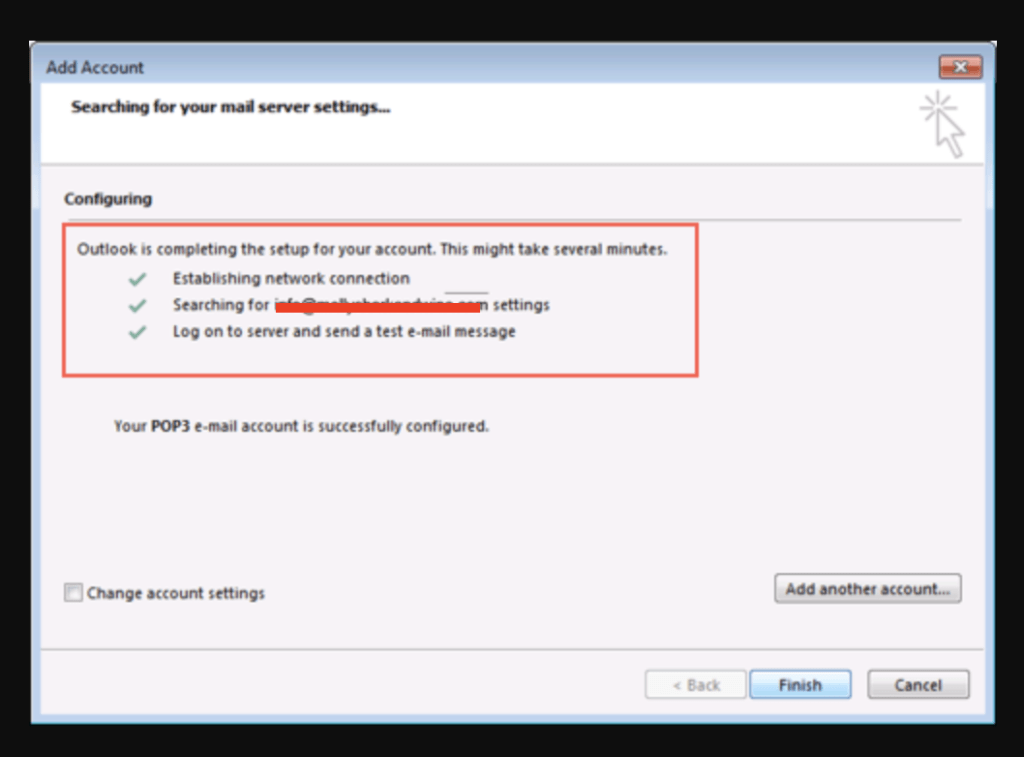
Important: You may also read the related article QuickBooks Email Setup
Note: QuickBooks Online has a limitation to the maximum number of users depending on your subscription. Therefore, it is possible that you can see a user limit message.
- Now, choose a User Type. If you want Email A should manage other users and company info, choose Company Admin.
- Now, consider going to your inbox for Email A. Secondly, you must have received a link to accept the invite; select that link.
Note: You can change your email and user ID anytime you wish.
Finally, after accomplishing the steps above, you can sign in to the company using Email A.
Change the Primary Admin and Consider Removing Email B
As discussed earlier, you can now sign in to the company using Email A. So, consider setting it as the primary admin. The primary admin is capable of controlling everything. Also, it can manage other users in the company.
Another key point is that if you don’t want to use Email B anymore, consider removing it from the company. It will free up space and will enable you to add other users in the future.
However! If you can’t find the correct file path, Follow the instructions on what to do if your QuickBooks company file not found on the system.
How to Switch Between Company Files in QuickBooks Online?
If you use multiple companies in QuickBooks Online, you can easily switch between them. Here is how you can do that:
- Move to Settings.
- Under Profile, choose Switch Company.
- A list will appear on the screen; select the company you want to switch to from that list.
- Consequently, the company you chose will now be active.
In case you need an update to switch company files, get detailed information on how to Update QuickBooks Company File to latest release.
Conclusion
Managing multiple companies within a single installation of QuickBooks can streamline your efforts. However, setting up multiple companies in QuickBooks requires in-depth knowledge. With this in mind, we have listed the significant resolutions to help you move all the companies under the same account. Hopefully, you would have benefited immensely from this guide. However, if you have any further queries or if things haven’t happened according to your expectations, you can contact our technical experts at +1(855)-510-6487. and get immediate attention to your problem.
Frequently Asked Questions (FAQ’s)
Is there a limit to the number of companies you can open in Quickbooks Desktop Pro?
The option to access multiple company files in QBDT Pro is unavailable. However, this can be done with QBDT Accountant and Enterprise versions.
Can I merge two companies in QuickBooks Online?
Merging two companies in QuickBooks Online isn’t possible.
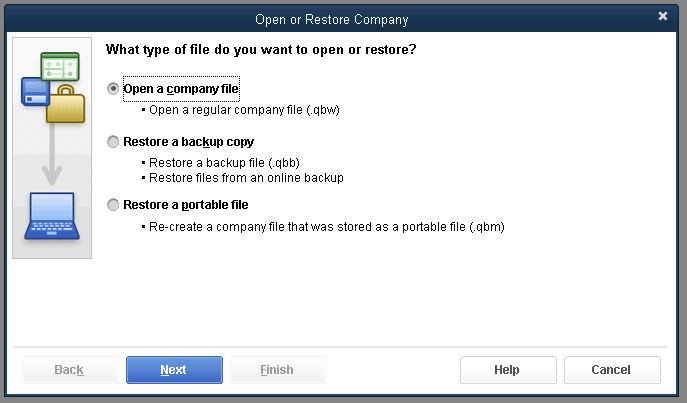
How can you open an existing company file in QuickBooks?
In QuickBooks, select “File” > “Open or Restore Company.” Choose “Open a company file” and click “Next.” Browse to find your file, select it, and click “Open.” Enter your username and password, then click “OK” to access your existing company file.

Alastor Moody is an Author at Asquare Cloud Hosting with experience in technical and functional writing. He loves travelling for adventure and fun.