Last Updated on November 7, 2025
The QuickBooks Enterprise ODBC driver is an open standard API (Application Programming Interface) that provides admin access to the company file using third-party apps like Microsoft Excel, Microsoft Access, or Crystal Reports. In addition, it enables you to create spreadsheets in Microsoft Excel, tables in Microsoft Access, and reports in Crystal Reports that resemble the company file. With ODBC Driver, you can design reports using data from multiple company files, personalize invoices, create mail merges, and write queries using Structured Query Language (SQL). If you intend to Download and install the ODBC driver for QuickBooks Desktop Enterprise, this blog is for you. We have discussed a complete process to download, install, and configure the ODBC driver in detail. Therefore, read the blog till the end to download and avail yourself of its amazing features.
Steps to Install and Set up the QuickBooks Desktop Enterprise ODBC Driver
Open Database Connectivity Driver (ODBC) was introduced by FLEXQuarters to help you create a custom report by exporting data from the QuickBooks company file. Once you export a report, you can open and view it in third-party programs like Microsoft Excel, Crystal Reports, QlikView, Python, or .Net. QuickBooks can run into installation errors like 2203 if there is an issue with the components. Learn how you can install and set up this driver by following the steps below:
First, Download and Then Install the ODBC Driver
Here’s how you can cc on the computer:
- Go to this link to download ODBC QuickBooks Desktop Enterprise. As far as “QuickBooks Desktop Enterprise Read Me” is concerned, click this link to download it.
- Once the file is downloaded, save it in a temporary directory or your “My Documents” folder to extract the installation files.
- Unload the MS Office toolbar from memory. Also, consider unloading any other Windows applications that can impair installation. Then, click on the Install program from within Windows to install the driver.
- Select the Region of QuickBooks you are currently using and ensure it should match the version of the driver you purchased.
- Skip the Activation key if you want to evaluate the product before purchasing it. Then, click “Next” to continue.
- To install the QODBC support files, select the Destination Directory. Then, click “Next” to conclude.
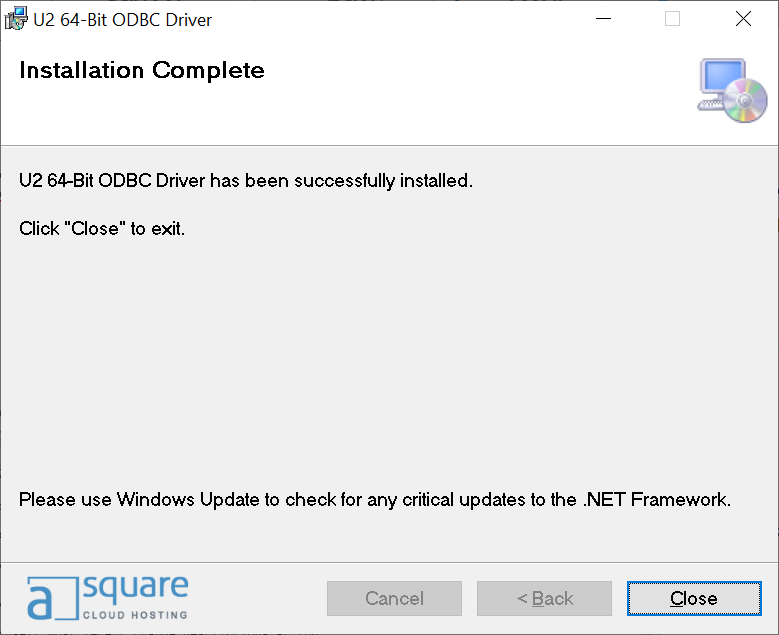
Now, the QODBC Driver has been successfully installed on the system. You can begin using it immediately, as it will immediately run as a 30-day evaluation version.
You May Also See: QuickBooks Enterprise Errors and How to Resolve Them
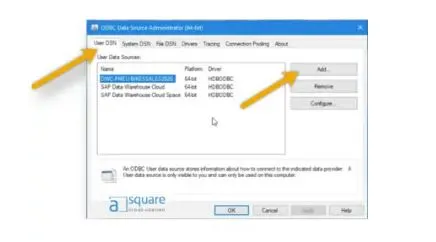
Configure the QuickBooks Desktop Enterprise ODBC Driver

Once you have successfully installed the QuickBooks ODBC driver on the computer, to run the driver, you need to configure it for QuickBooks. Follow the steps that we have mentioned below carefully.
- Open QuickBooks Desktop Enterprise and go to the File menu.
- From the dropdown, select Utilities and then Configure ODBC.
- To set up the ODBC driver for QuickBooks, select the General tab.
- Choose the Use the Company file that’s now open in the QuickBooks option.
- In the Data Source Name section, enter QuickBooks Data.
- Further, select Test Connection to QuickBooks.
Note: To avoid common issues while running the test connection, sign in to the company file as an admin.
- Now, move to the Messages tab:
- Remove the tickmark from the Detail Tracing (Slow) checkbox and check the Display Optimizer Status Panel checkbox.
- If you want to see what ODBC is currently working on, click Display Driver Status Panel. By selecting this option, you will be able to see the number of records processed and the current running activity in ODBC. Moreover, it’ll provide an overall assessment of speed using optimized and non-optimized data that will help you know if you need to troubleshoot the software’s performance.
- Lastly, click Apply.
- Now, move to the Optimizer tab.
- Mark the Use Optimizer checkbox.
- Using the path of Default Optimizer (%AppData%\ODBC Driver for QuickBooks\Optimizer) is highly recommended.
- Further, select The start of every query and then hit Apply.
Note: The initial optimization time may change depending on the file size. However, it usually takes 24 hours. The optimization process will take longer if you have more and more transactions. After finishing, data connections together with QB will run even faster.
- Hit OK to exit the Configure ODBC Driver window.
Also Read: How to Efile 941 in QuickBooks Desktop.
How to Connect ODBC Driver with Third-party Applications
To connect the QuickBooks Enterprise ODBC driver with third-party applications like Microsoft Excel, Microsoft Access, and Crystal Reports, you must first create an ODBC user account in QuickBooks. Once you created the account, connect with the third-party applications by following the below steps.
Connect ODBC to Microsoft Excel
- Open Microsoft Excel and go to the Data menu.
- Select From Other Sources>From Microsoft Query.
- Click Browse to locate the datasource file. This file is located in the same folder as your company file and has the same name as your company file but with the “DSN” extension at the end.
- Once you select this file, you will be prompted to authenticate. To connect to the database, use the login credentials of the ODBC user you just created.
After connecting, you can select different report views and pull the QuickBooks data into Excel.
Read More: Can’t Install QuickBooks Desktop on Windows/Mac
Connect ODBC Driver to Microsoft Access
- Launch Microsoft Access and open a blank database.
- Go to the External Data menu and then select the More menu.
- Select ODBC Database>Import the source data into a new table in the current database.
- Click OK and then find the file data source essential to build the connection.
- Move to the Look-in: section and click on the folder icon. The file datasource is located in the same folder as the company file. Moreover, this file has the same name as the QB company file but with a DSN extension. Go to the location where the company file is saved, choose the DSN file, and log in using the credentials of the ODBC user you created.
Once the authentication is done, a list of database tables will appear on the screen. Some of these databases are system tables you don’t have access to. To view the dataset available for custom reporting, scroll to find tables starting with QBReportAdminGroup. To start creating your reports, choose any view that begins with QBReportAdminGroup.
Connect to Crystal Reports
- Create a new report from Crystal Reports.
- Open Database Expert and select Create New Connection.
- Click on ODBC (RDO) and choose Find File DSN.
- To find the file data source, select the button next to the File DSN field. The company file and the QuickBooks file data source are located in the same folder. Also, It has the same file name as the company file but with a DSN extension. Navigate to the location of the company file, choose the DSN file, and then input the ODBC user’s credentials you created.
The database table list will appear after authentication is complete. You can’t access some of these databases as these are system tables you don’t have access to. To view the dataset available for custom reporting, scroll to find tables that start with QBReportAdminGroup. Select any view that begins with QBReportAdminGroup to start creating your reports.
Read Also: Download QuickBooks Tool Hub Recent Version (1.6.0.8) – Here.
Conclusion
we detailed the complete process to install and set up the QuickBooks Enterprise ODBC driver along with the ways to connect it with other third-party applications to view your custom report. Hopefully, you have accomplished your task. However, If you are stuck somewhere while following the steps or are not confident to implement all the given solutions on your own for any reason, contact QuickBooks Data Repair Service experts by helpline number +1(855) 738-0359.
Moreover, if you face common issues with QuickBooks Enterprise, we have a dedicated guide to help you fix that.
Frequently Asked Questions
Yes, you can create custom reports in QuickBooks. Go to the Reports Center, choose a base report, and customize it by adjusting columns and filters.
Additionally, QuickBooks supports ODBC (Open Database Connectivity) connections, which allows you to integrate with third-party applications to create a custom report and for more advanced and customized capabilities.
There are differences between typical QuickBooks users and ODBC (Open Database Connectivity) users. Those who access and utilize the QuickBooks program are known as regular users.
In contrast, users of ODBC rely on third-party tools or apps linked to QuickBooks via the ODBC interface. Secondly, ODBC has a separate login from your regular QB account. Thirdly, you’ll have to create new user credentials to connect to QuickBooks for Custom Reporting despite being an admin. Lastly, ODBC driver users don’t have the same permissions as QuickBooks users.
For QuickBooks Enterprise, Intuit offers a read-only QODBC driver for your company file, allowing you to share data between QuickBooks and hundreds of other apps.
For QuickBooks Desktop Pro/Premier, the read-only and read-write drivers are available in FLEXquarters.
To update the driver, you can buy it in the FLEXquarters.
Custom Reporting gives read-only access to the QuickBooks database. Then, you can create custom reports in ODBC-compatible applications, including Microsoft Access or Excel.
If you want to update the driver, purchase it in the FLEXquarters.
Check out the pricing for your version of QuickBooks to learn more about the cost of the ODBC driver.

Oriana Zabell, a professional cloud engineer, has over three years of experience in desktop, online QuickBooks support and troubleshooting. She is currently working as a cloud hosting consultant with Asquare Cloud Hosting. She loves to read and write about the latest technologies such as cloud computing, AI, DaaS, small businesses, manufacturing. When not writing, she is either reading novels or is indulged in a debate with movie fanatics.